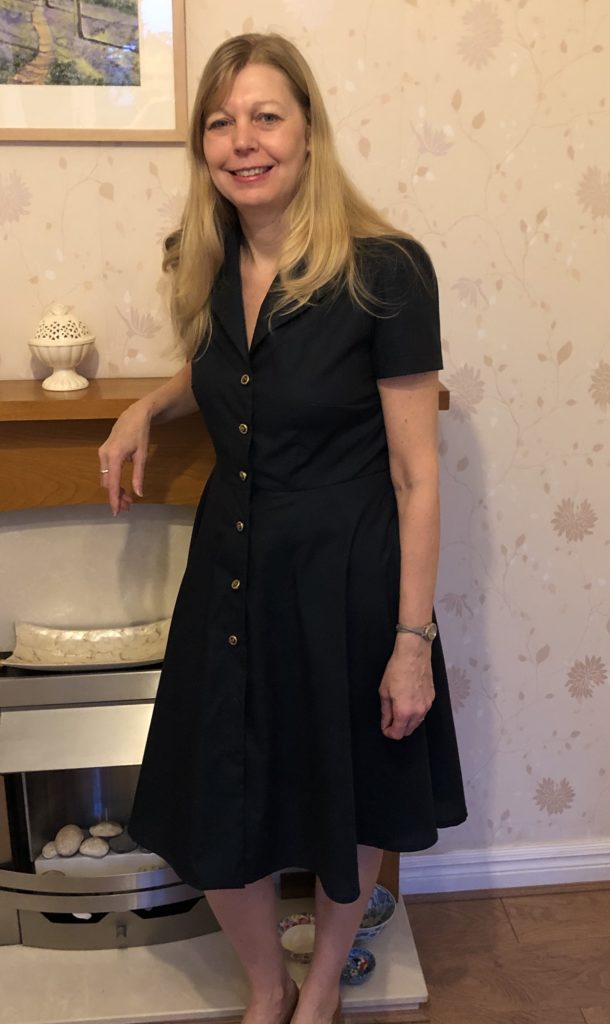
I was inspired to sew this shirtdress after seeing Beccas @Redwsews lovely version in issue 63 of Love Sewing magazine. It has a nod to vintage but everyday wearable for me & is supposed to be sewable in 3 hours – hahahahah! I decided to sew view C, as it wasn’t warm enough in February when I made it to go sleeveless & full sleeves aren’t conducive to cardi wearing – which I do a lot of being a librarian!
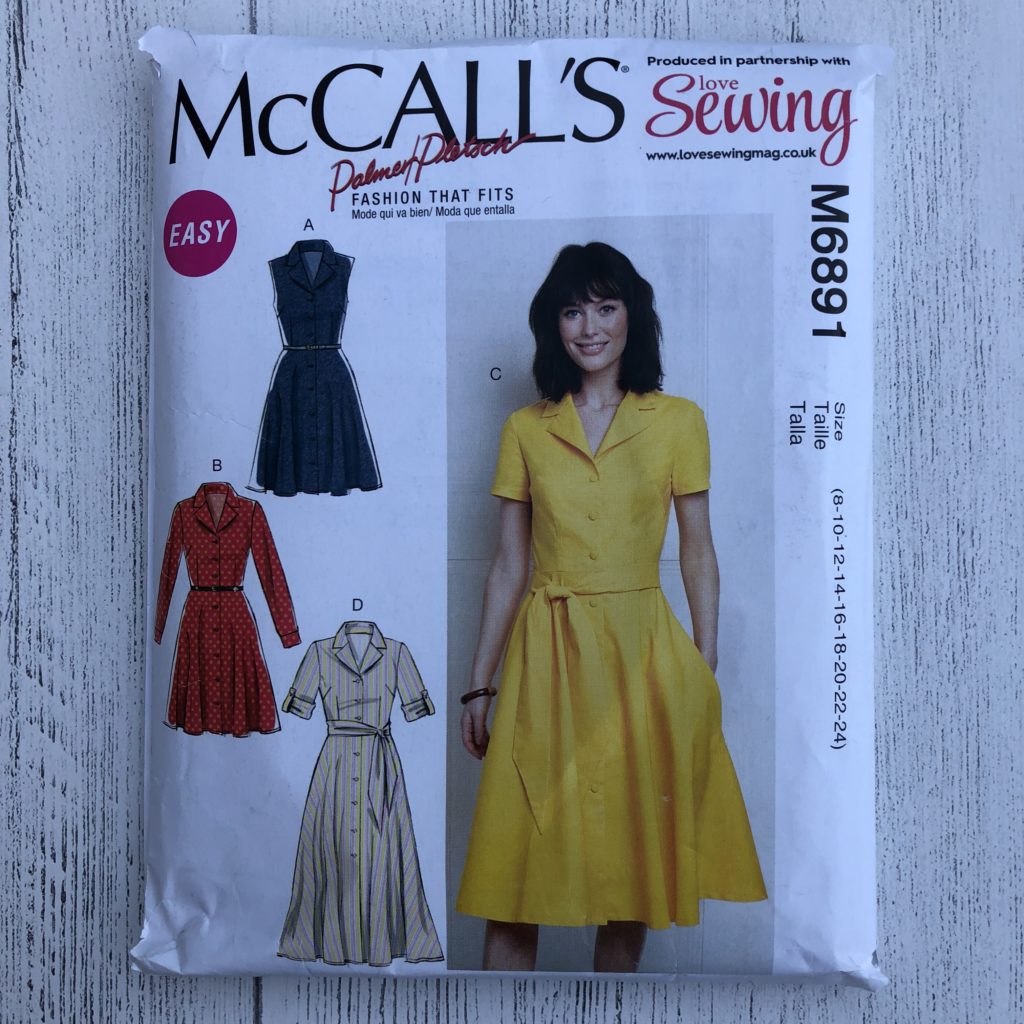
Fit
This is a Palmer & Pletch pattern which encourages you to paper fit before cutting into your precious fabric. This is a great idea if you have a sewing elf or an extra pair of hands or eyes but virtually impossible when ones sewing elf has gone fishing for day!
It’s important to note that you use your high bust measurement as opposed to your usual full bust measurement as a starting point for this pattern. My high bust was 35.5″ which meant I needed the size 14 & my waist was 32″, which would have meant a size 18 skirt, I could see things were going to be interesting!
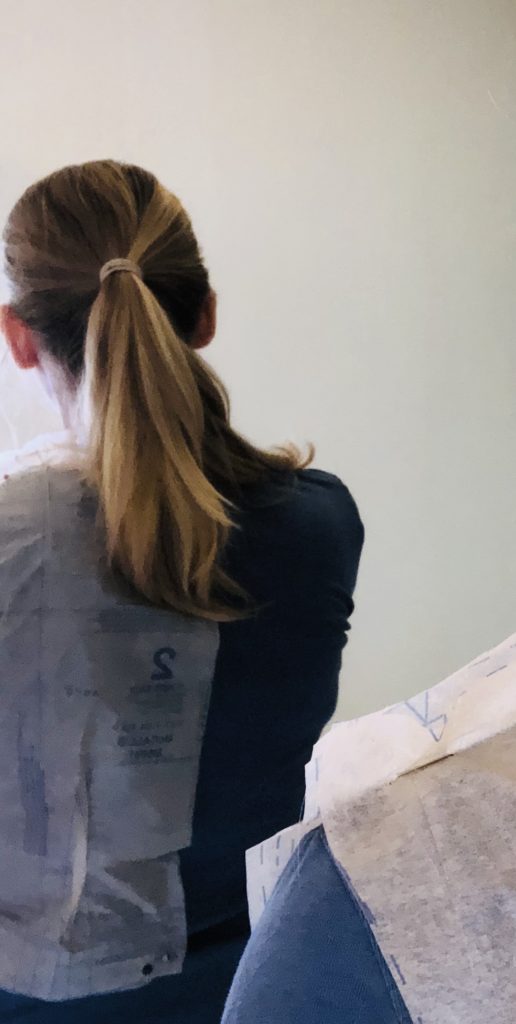
After following the instructions to paper fit the bodice, it looked as though I needed to add an extra 5/8″ to the length, drop the bust dart, (I’m over 50, things have started to go South!) & do a sway back adjustment. I had a spare Thursday so I went ahead & made said adjustments and cut into a remnant of navy blue shirting cotton and found that there was far too much length in the bodice, i.e. I could pinch 5/8″ at the shoulder seams! I thought hang on a minute, that’s what I’ve just added to the bodice length, if I take out 5/8″ at the shoulder seams I’d have to adjust the collar & the sleeves, (which I wasn’t up for) – so instead I just chopped it off the bottom of the bodice – so much for paper fitting!
Instructions
Overall the instructions are pretty clear, there are some ProTip sections along the way, which are worth reading, as some of the steps are within them & may get missed. Step 43 was the most confusing part for me, essentially you are joining the non-interfaced collar to the interfaced front facings. It took a while for me to get my head around it & I had several attempts at it to get it right. It helped in the end to get out my pattern pieces and look where all the dots & notches are & line them up. By clipping the front facing as instructed, you are almost making an angular piece of fabric into a straight line. It doesn’t say where to start & stop sewing & the picture looks as though you sew straight across. I started at the large dot, sewed to the small dot, adjusted all the fabric so that it sat flat & through to the triangle, which seemed to work.
Step 45 is crucial to getting a nice notched collar. Take note not to sew over the top of the circle & make sure it’s clearly visible when you’ve got your sewing foot down. The ProTip advises to trim & grade seams & clip corners but there seems to be no mention of under stitching down the front facing, this is advised in the magazine & I think it gives a better finish. I also finished the raw edges of the facing by overlocking, turning under & sewing down for a nicer finish inside.
Frugal Tips
View C calls for 4 yards (3.6m) of fabric for 60″ (154cm) wide. This includes the sash & pockets. My remnant was 2.1 yards (195cm) by 60″. I had to do a bit of piecing to fit on the facing & sadly omit the pockets & sash (I never wear them anyway) but this was only ever going to be a (hopefully wearable) toile to get the fit right anyway. I also ended up using the size 16 skirt, (instead of the size 18, which my measurements suggested) which fit perfectly. As the fabric was plain & no pattern to match I just about squeezed it out of this remnant which I picked up from Fabworks for £3, (see below for how much I had left). If you’re unsure about how much fabric to buy try cutting out the patten pieces first & if you’ve got a length of fabric to hand, place the pieces on to see how much you really need. The skirt is quite full so a wider fabric will probably be needed.
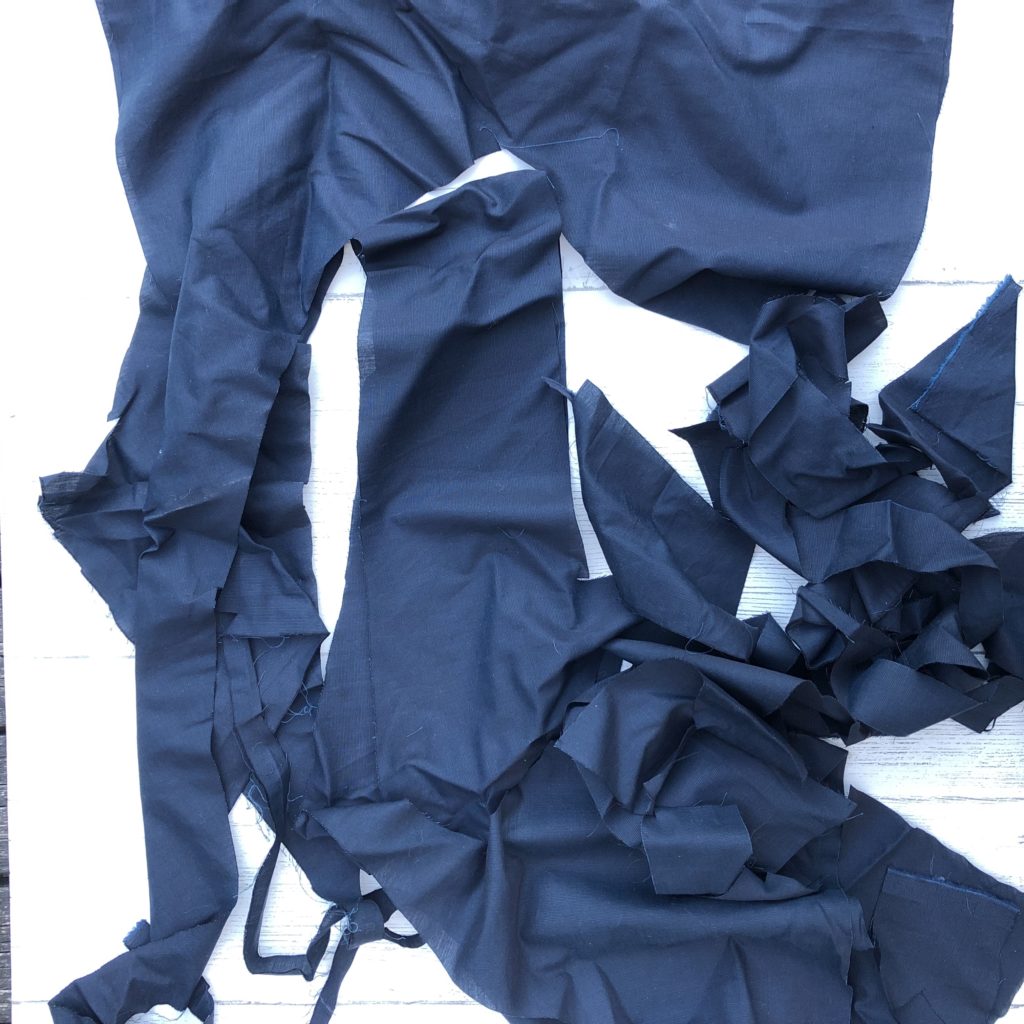
There is a back seam on the skirt, which I assume is only there to adjust for fit, I reckon that this could be omitted, saving about an inch or so of fabric. Once I’d got the bodice to fit I decided to make it up properly & am now good to go with a more expensive piece of fabric. I had the buttons & interfacing in my stash, so I basically made this dress for £3 plus the price of the magazine (£8.99), the pattern usually retails in the UK for around £9.75. The magazine came with 2 more paper patterns, a nice skirt & a bag & inside were instructions & downloads for 2 more blouses another skirt & dress and a lunch bag, good value if they are all to your taste. (I may talk about the value of sewing magazines at a later date.)
Final Thoughts
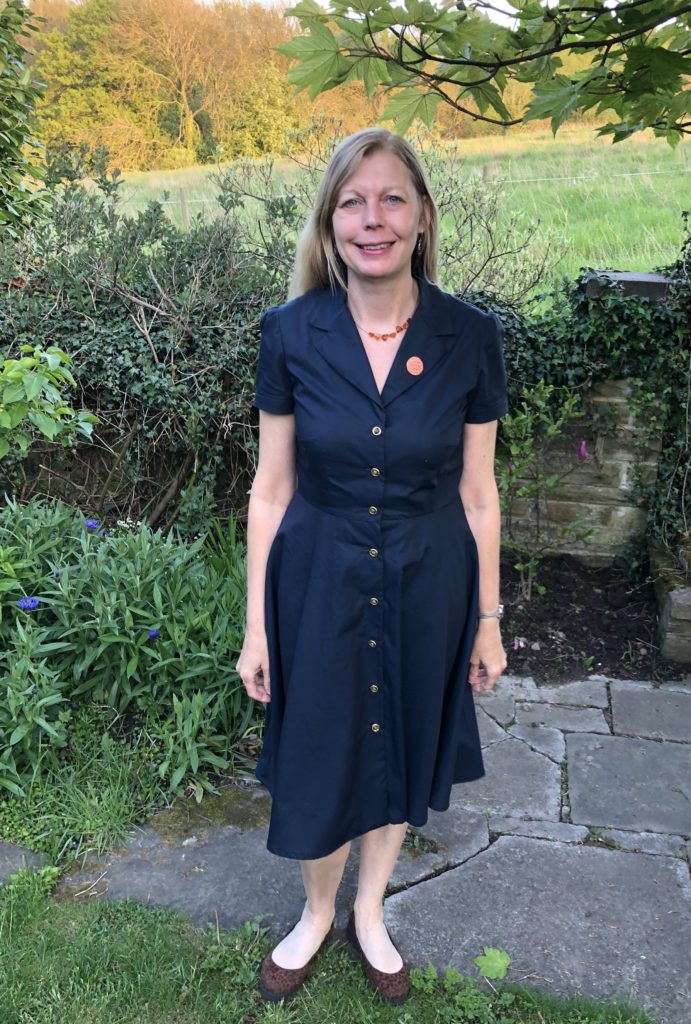
Overall this a lovely pattern, which I have bought fabric to make again. I’ve worn it today to work & it’s such a comfortable & easy to wear dress & given it’s a cotton shirting not as crumpled as I thought it would be, the picture below is after wearing it all day.
There are 4 views, essentially sleeveless, short sleeves, one with a cuff, long sleeves & the choice of 2 lengths, so quite versatile across the seasons. I love a shirtdress & have made & wear them a lot, especially to work. I think the short sleeved version would be a lovely holiday dress in a light weight linen.
While the fitting tips are great, it really does help if you have someone to assist you but worth the extra effort to get a good fit. Accurate sewing is needed for the collar & there are 8 buttons & buttonholes to sew, so good practice for those who fear the buttonhole attachment on their machine!
As for sewing it in the suggested 3 hours & it being an easy make as suggested on the pattern envelope, well I didn’t exactly time myself & I know I’m not the fastest of sewers but with 3 metres of hem, 8 buttonholes & buttons to sew on & a notched collar, I would say that both statements are a tad optimistic. I’m sure when I come to make it again that it would take me less than a day this time, as theoretically I won’t have all the fitting to do again, (unless I gain weight of course) but I think it would be closer to 5 or 6 hours to make. To make it easier for yourself try it in a plain cotton fabric or one which doesn’t require pattern matching.
That’s about all I have to say about this, I’ve just received a copy of this months Simply Sewing magazine & guess what the free pattern is – yep another shirtdress – or The Shirt Dress, as they are proclaiming, this one is a little more relaxed in the fit, so I just might be tempted!
Let me know if you’ve made this McCalls pattern & how you found it, did you make it in 3 hours or do you have any money saving tips for making it? Is anyone planning on making ‘The Shirt Dress from this months Simply sewing? Until next time, thank you for taking the time to read my rambling & I hope that someone finds it useful.
