
So here we are 3/4s of the way through the year & I thought I would post a quick update to see how I got on with my first ever Make 9, in order of how they appear on the grid.
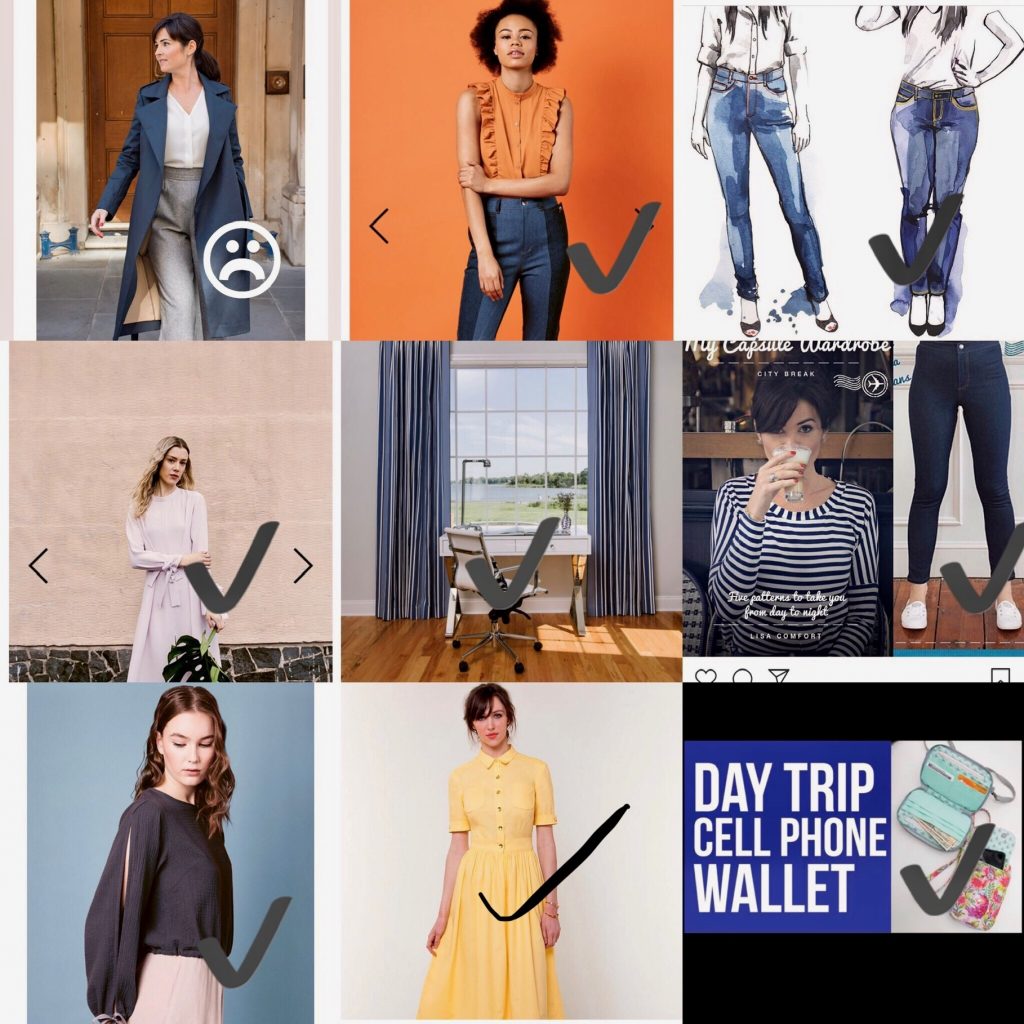
The Anna Trench Coat by Sew Over it
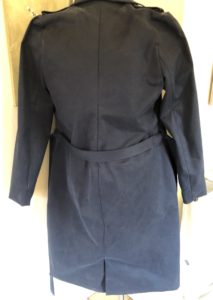
Starting with a bit of a minger on this one, I bought the Sew Over It work to Weekend E-book mostly because of this pattern, I thought £20 (with the early bird discount) was good value when it included a full coat pattern. However, what I didn’t like about it was that it it was unlined. I don’t know about anyone else but if I’m wearing a coat it’s because it’s cold/windy/raining, (usually all 3 in Yorkshire) and I want a lining, also I think a lining is more aesthetically pleasing & makes a coat easier to get on & off.
No problem I thought, I watched a few YouTube tutorials, read a few blogs & off I went. All was going well until it came to bagging it out, only to discover that I’d miscalculated the length of the lining & find it pulls the outer coat up. It could be rectified by unpicking the lining & remeasuring/redoing it at the correct length or just bias binding the hem but the biggest problem with the coat really is the fabric. It’s quite thick & feels quite heavy on, so I shoved it to the back of the wardrobe to think about it over the summer & see how I feel when the colder weather comes. I’m calling this a fail.
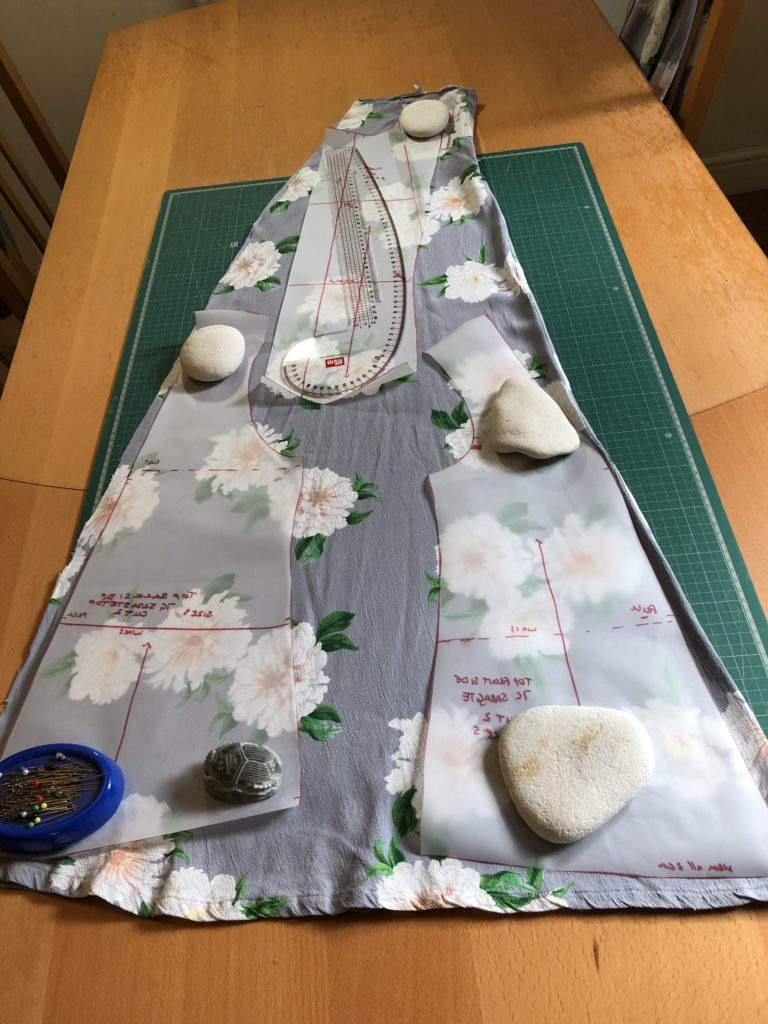
Saraste Ruffle Shirt – Named Patterns
Before 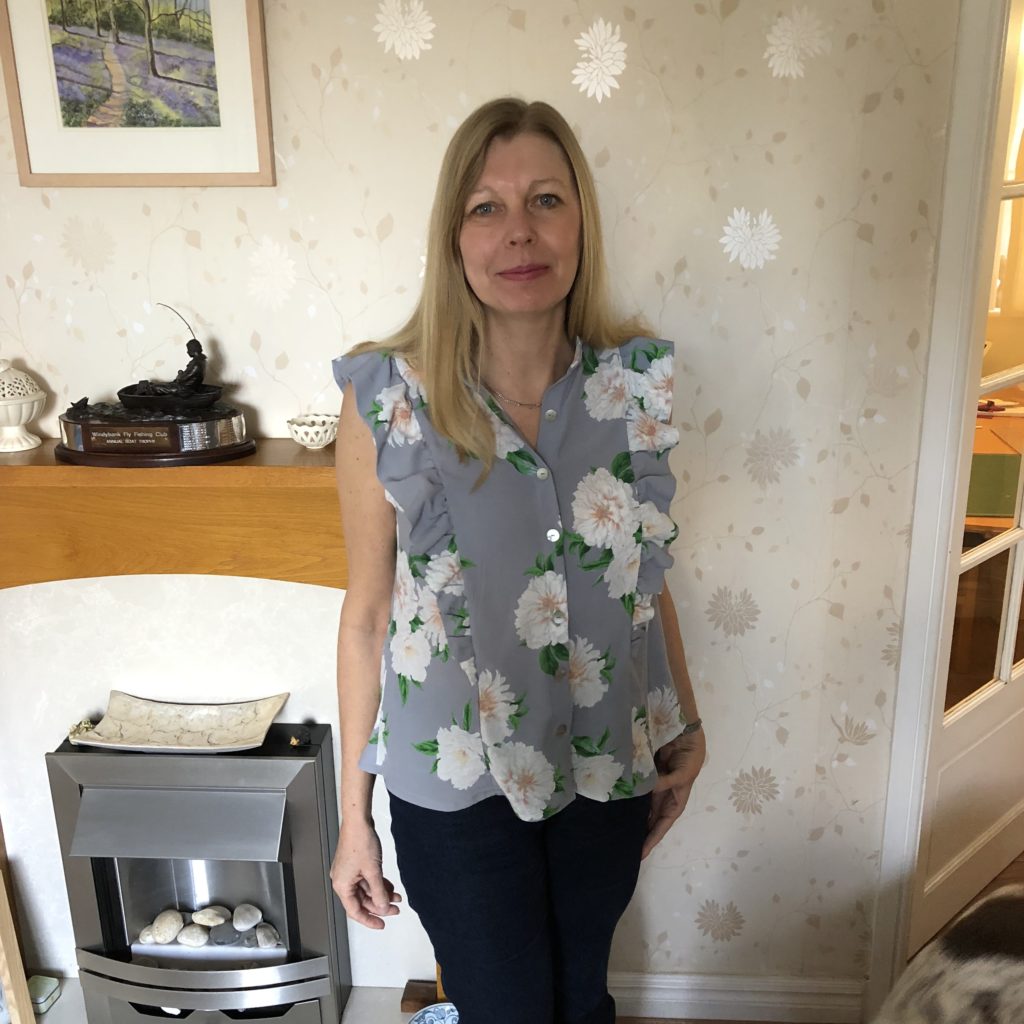
After
My original plans for the Saraste were to use some chambray shirting that I had rescued, once again, from the Fabworks remnant bin. But along came the Great British Sewing Bee Sewalong sustainability week hosted by Shoena @Sewisfaction & inspiration struck.
I had picked up a maxi dress from a car boot sale, much encouraged by my friend, for a few pounds but when I got it home & tried it on it was way too low in the back, so I wouldn’t be able to wear a bra, meaning that I would never wear it. It was destined to go to the charity shop but I really liked the fabric & found there was plenty to squeeze the Saraste out of it. In fact I ended up removing around an 1″ off all the seams as it was so voluminous. So I’m quite glad that I didn’t use the chambray as it probably wouldn’t have been drapey enough for this version.
Ginger Jeans – Closet Case Patterns
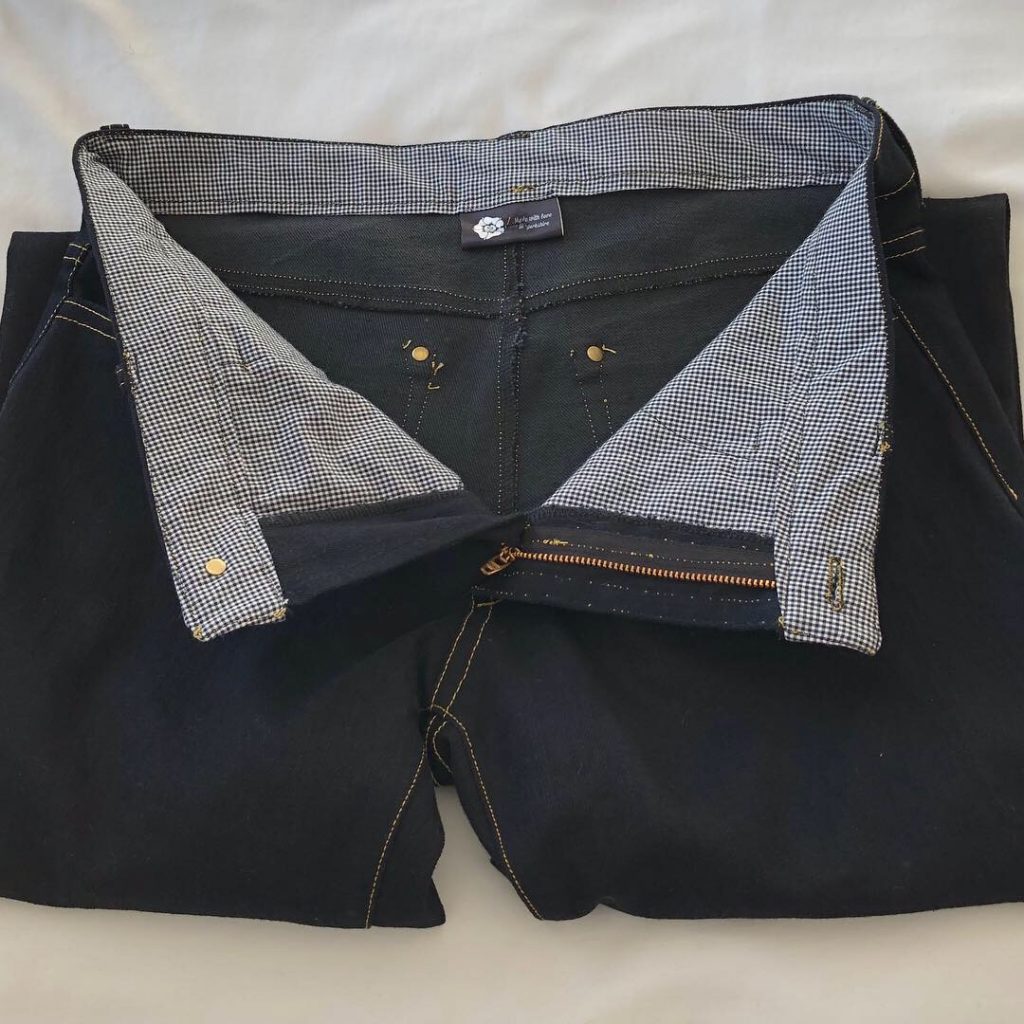
Ginger Jeans with snazzy gingham insides 
Gold Top Stitching
These were my second pair of Ginger Jeans, I made the first pair last year in a dark blue & have worn them a lot & felt that I needed a darker version. I picked this denim up from Fabworks for £5 & the insides came from their remnant bin, I think it was a £1, so a real bargain for a pair of jeans that I have worn & worn.
If you’ve never attempted jeans, I would say that the Mias are more straightforward, as there are no front pocket shenanigans, topstitching, belt loops or rivets but these are actually quite straightforward to make. It’s like anything with sewing, if you take one step at a time & don’t rush, (I think a made these over a period of a couple of weeks), then they will come together. You may not get the fit 100% right the first time but I can guarantee if you follow all the information given you will get better fitting jeans than any ready to wear. I even inspired my friend, who has been sewing for many more years than I have, to give them ago & she was absolutely chuffed to bits that she did.
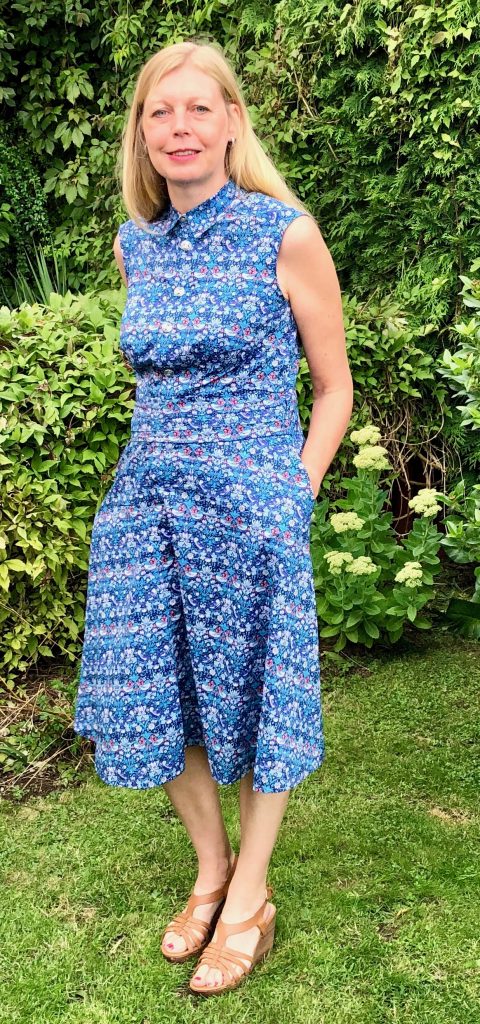
Solina Dress – Named Patterns

This was another make that I completed during the Great British Sewing Bee challenge back in April. The theme was party & I had a night out planned with my friends, not a party as such but a good reason to get it made. I had bought what was left on the bolt of the blue crepe viscose without a plan but absolutely loved the colour & texture.
I shortened the dress by around 30cm as I thought the original length would be frumpy on me & did the collarless version for the same reason. This came together really easily, the shaping comes from the pleats tied at the front, so no darts to sew & I think it looks really elegant. I hand stitched the hem because I like to do that for certain garments.
The only criticism is that the wrist ties can potentially get in your dinner – so no soup for starters for me! I’ve only worn this once, which is a shame but it just feels a bit too fancy for going down the pub, so I need somewhere a bit dressier to wear it.
Bedroom Curtains
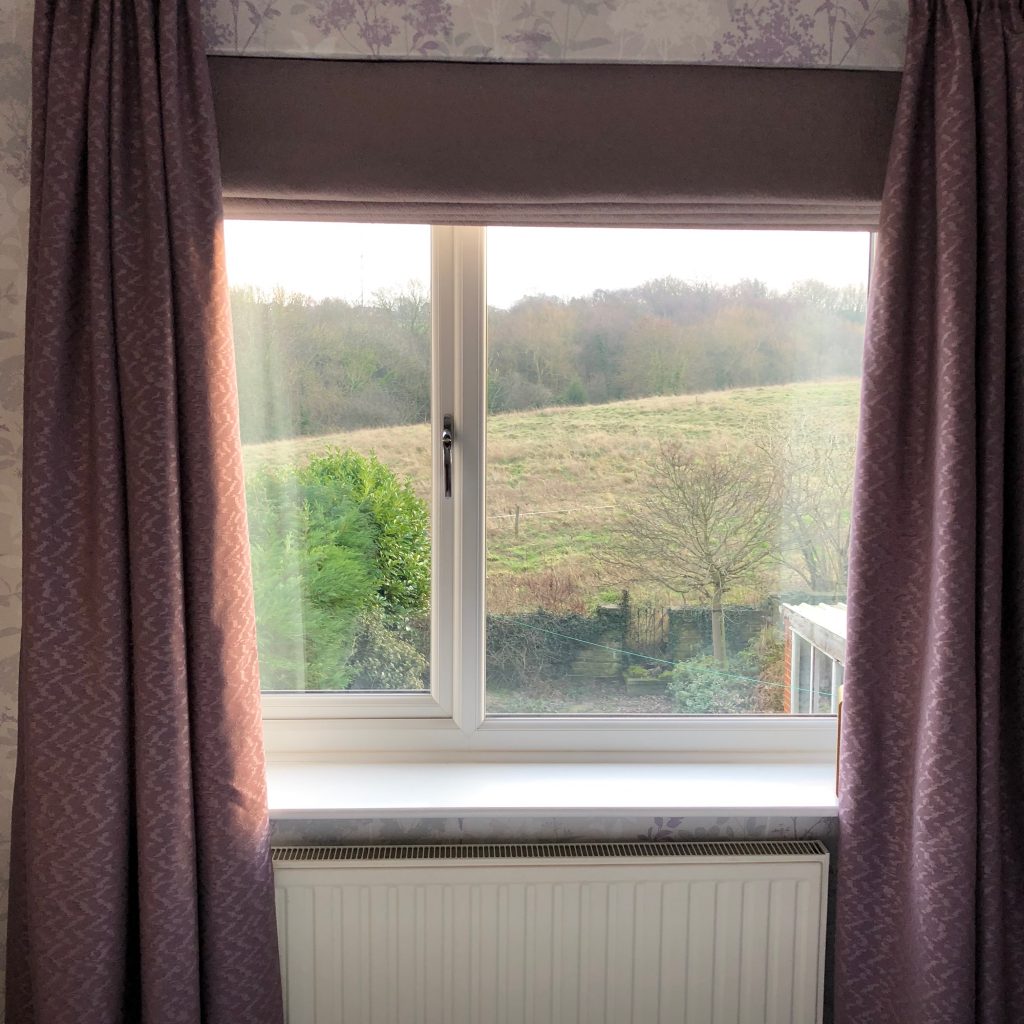
These were the first things that I sewed this year, the fabric was taking up a lot of room & I needed to get them out of the way. I’d already made the blinds for the bedroom, (along with 5 other sets of blinds last year & our living room curtains) but these were a beast to sew, largely because they are full length and the fabric was double width. I specifically bought double width fabric so I didn’t have a join in the middle. (It was also incredibly cheap at £5 a metre, from yes, you’ve guessed it Fabworks.)
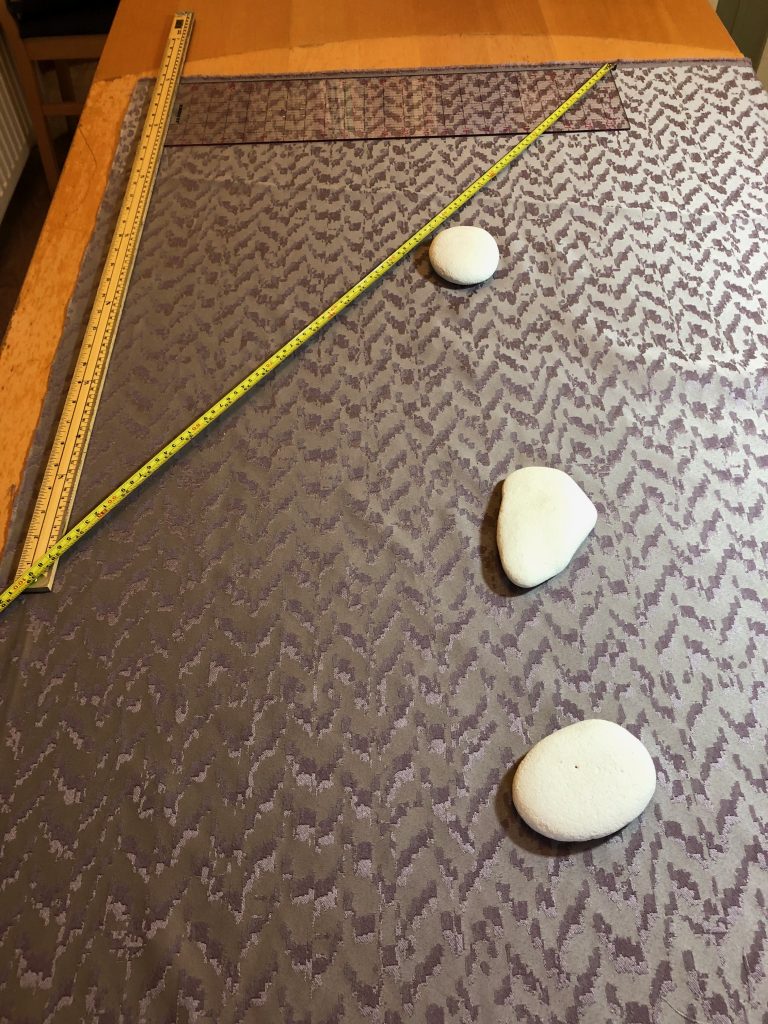
The second picture shows how I squared it up, as it hadn’t been cut straight. Starting with a straight edge is really important with curtains, especially when they are so big. A bit of school geometry was applied, using the 3:4:5 rule, after consulting with the husband, as I’d forgotten! I won’t go into detail here but this link explains it better than I can! https://www.mathopenref.com/triangle345.html
Sade Blouse – Named Patterns & Mia Jeans – Sew Over It
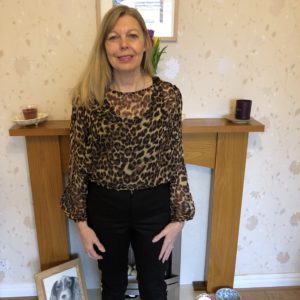
I’ve lumped these 2 together as they were both made & worn at the end of January for a couple of gigs I had planned. I’d already made the Mias before but rarely wore them as they were a tad short & tended to need hoiking up a lot, possibly due to the combination of too much elastane & no belt loops to keep them up. This version is made from a better quality stretch denim from Stitchy Bee. I was a bit concerned about black denim potentially fading in the wash but these have been worn & washed several times & are absolutely fine. I was really happy with the result of these, until my husband took the photos for me & said they made me look as though I’ve got a square bum – well I guess I have but didn’t need it pointing out!
The Sade blouse came together really easily, the fabric was a small remnant of poly chiffon, which I think cost me £1 & just enough to eke this pattern out of & didn’t give me any trouble at all. I love the details of the split sleeve & wrap back but they are not very practical, the sleeve ribbon has a tendency to slip out, I could maybe stitch them in place but I think if I were to make it again, I would use elastic in the sleeves. It’s a great top for travel as it rolls up really small & doesn’t crease. So both these makes are a win.
Day Trip Cell Phone Wallet
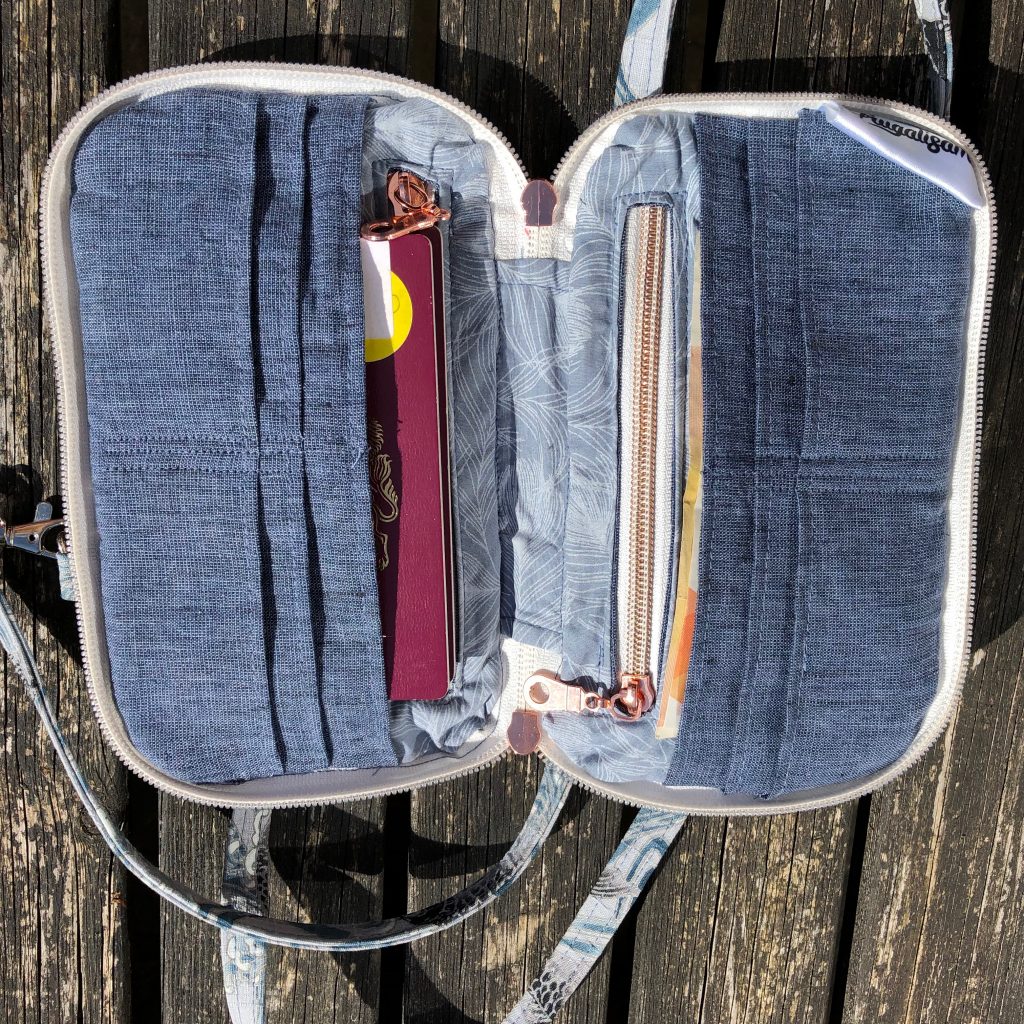
Inside – surprisingly capacious 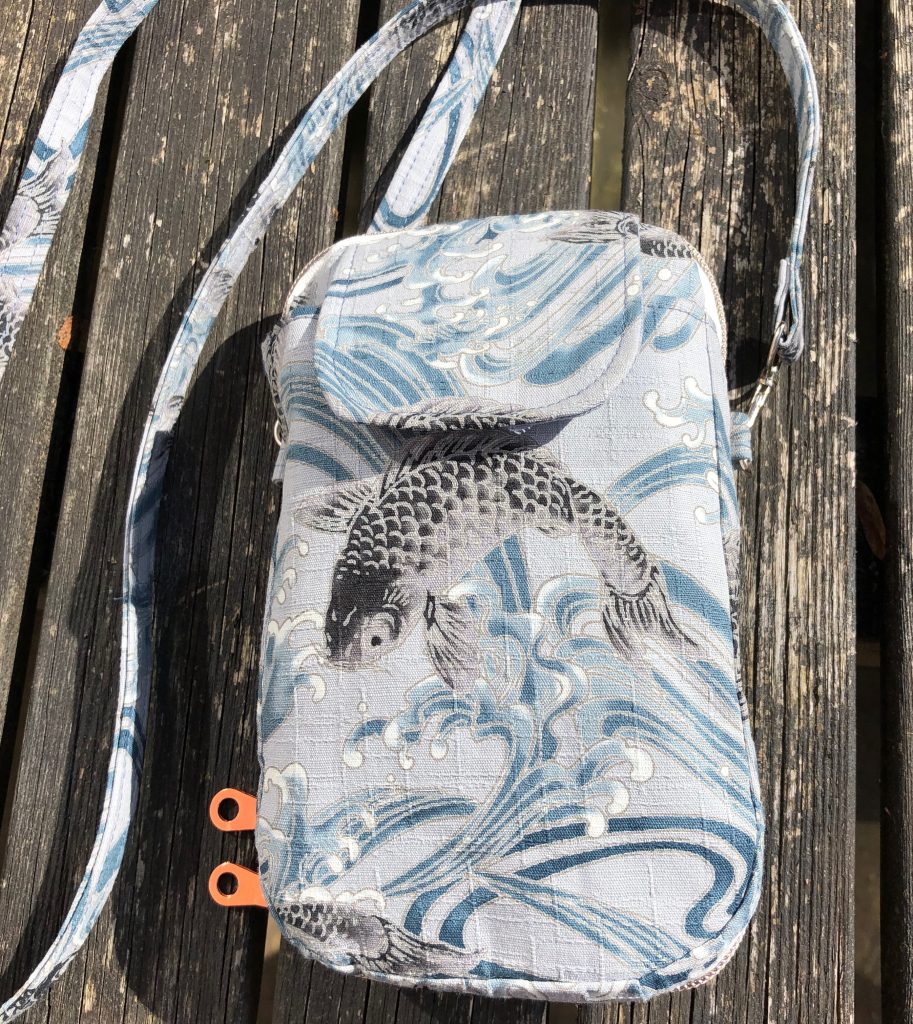
Day Trip Cell phone Wallet
I needed a little bag for keeping all my travel essentials in for our trip to Leipzig in mid April, so I thought this would be perfect. I had won the outer fabric in a draw by Textile Express, which I absolutely love & had all the other bits of fabric in my stash. I love Sew Sweetness patterns, her instructions are really clear & she makes it really easy for anyone to start sewing bags. I had a few issues getting all the layers through my machine but got there in the end. It has been really handy for travelling & fits in a lot more ‘stuff’ than you would think!
This particular pattern is part of her Minikins 2 bundle, so can’t be bought separately. The bundle retails at $80 for 13 patterns which includes a video tutorial for each but I bought it at the launch, so it was a little bit cheaper, I’ve made 5 of the 13 patterns so far & there aren’t any that I don’t like, so even at full price, it works out at a little over $6 dollars per pattern with written & video tutorials, which I think is good value. Sara also has tons of free patterns & videos on her website if anyone wants to dip there toe into bag making. https://sewsweetness.com/products/minikins-season-two-13-pattern-video-bundle?v=79cba1185463
Penny Shirt Dress – Colette Patterns
I saved the best till last so slightly out of order here.I had always planned for this to be the dress that I wore to my son’s wedding – just not in this fabric! This is a Liberty Tana Lawn, in the famous Willian Morris Strawberry Thief print, which my son had bought for me a couple of years ago from the actual Liberty shop. He used to get discount where he worked – but it’s still expensive fabric in my book, so I was a bit apprehensive about cutting into it – but it all turned out alright in the end! Read more about it here: https://frugalisama.com/colette-penny-a-true-labour-of-love/
Final Thoughts
So that’s it – my first make 9 all completed by the beginning of August and apart from the Sew Over It Anna Trench coat a success I think. All made from patterns that I own & fabric from the stash, so I think I will make another Make 9 Autumn/Winter edition using the same parameters. (I was going to do a summer holiday one but I’ve already been & come home from Greece, so a bit pointless really. I did make plenty of things for my holiday & had a rather informal, loose plan in my head but I do like a plan with deadlines attached.
I think that for me it’s been really motivating to get things made, along with all the mini-challenges on instagram, it keeps me accountable for what I commit to. It’s also been a good way to use up the patterns & fabric that I’ve had lingering for a while too.
Did you make a Make 9, how have you got on with yours?